Channel Settings
Add a chatbot button to your website and set it up
Put a chatbot button on a site and set its name, language, display, allowed domains, and notifications. The steps follow Channel Management in FrontierBase Console.

· 16 min read
What this guide covers
Put a chatbot button on a site and set its name, language, display, allowed domains, and notifications. The steps follow Channel Management in FrontierBase Console.
- Channel Details
- Profile Management
- Button install
- Button settings
- Allowed Domains
- Notifications
In FrontierBase Console, open Channel Settings → Channel Management to set up the channel and widget before you go live.
Start with the name and language, then the profile. Paste the install code, pick a display mode, and register allowed domains. Turn on notifications and Issue Track when you need them. Learning data and response settings live in other menus, so check those too if the widget loads but answers are empty.
Sign in at the FrontierBase Console and open Channel Settings → Channel Management from the sidebar.
Use Guide on the right of the tabs if you want the same steps highlighted on the screen.
1. Channel Details
This tab holds the channel’s basics. The name and language you set here also affect the playground URL and the chatbot’s default reply language.
Name and slug
Channel Name is what you see in the console. Pick something your team can recognize, such as Support chatbot.
Channel ID identifies the channel in code and URLs. It is usually set when the channel is created and cannot be edited here. Under the slug you will see a playground URL preview. Open that link before go-live to try the bot.
Click Save at the bottom after you change values.
Country / Region and language
Country / Region and Channel Language sit on one row. Language is the default reply language for this channel. Match it to your visitors when you can. You can change it later, but check that it still fits your learning data and tone.
Plan and status
Plan comes from your subscription and is not edited on this tab.
Status reflects whether the dataset is ready and whether the channel is running. Hover over the help icon next to the label to see an explanation of each state.
- Pending: The dataset is not ready yet. Use Configure Dataset to open learning data.
- Active: The channel is running. Use Pause when you need to stop it.
- Paused: The channel does not send or receive messages. Use Activate to turn it back on.
- Deleted: The channel can no longer be used.
If status is still Pending and you only embed the widget, the button may appear while answers stay empty. Finish learning data before you rely on the live widget.
Billing address and delete
Lower on the same tab you can enter a billing address (business name, business number, street address). Keep it aligned with your real billing details.
Delete Channel at the bottom is hard to undo. Prefer Pause for a live channel; delete mainly when cleaning up test channels.
2. Profile Management
Set the brand information customers see: logo and cover, display name, chat button text, guidance, and welcome message. Check the preview before you save.
Logo and cover
Logo appears in the chatbot header. Cover is the larger brand image. After upload, check cropping in the preview. If your site header is dark, make sure the logo still reads clearly.
Display name and button text
The display name appears in the widget header and does not have to match the channel name. Many teams use the channel name internally and show the display name to customers.
Chat button text is the short label on the floating button, such as Chat with us or Ask a question.
Guidance and welcome message
Guidance can hold hours, scope, and useful links. Long text collapses behind show more / show less in the preview.
Welcome message is the first line the bot sends when chat opens. Keep it to one or two sentences so visitors do not have to scroll before they type.
Use Preview to check the header, welcome line, and input layout, then save. Preview alone does not publish changes to your site.
Please set up various brand information to show customers
 FrontierBase Helper
Hi! How can we help?
3. Button install
Copy the install snippet that loads the chatbot on your site. Even with the code in place, the widget may not load until the site is listed under Allowed Domains. Do both steps together.
Paste the install code
- Click Copy code in the Install code block.
- Paste it inside the HTML
body, preferably just before</body>. - Refresh the page and confirm the button appears.
Each channel has its own snippet. Editing it by hand can break the widget or point to the wrong channel. Paste it as copied.
If your CMS has a “custom script” field (theme footer, tag manager, and so on), you can put the snippet there. Sites with HTML caching often need a cache clear before the change shows.
Google Analytics (optional)
On the same tab you can add a Google Analytics measurement ID such as G-XXXXXXXXXX. It applies when the widget runs. This option needs a Pro or higher plan.
Learning data and script options
If you leave dataset_ids empty, the widget uses the single active learning dataset automatically. When several datasets are active, pass only one ID. Follow the example shown in the console hint.
Copy the install code and optionally connect Google Analytics.
Insert the script below before the closing body tag of your HTML file.
Register your site domain under the Allowed Domains tab so the widget loads securely.
4. Button settings
Choose how the chat widget appears on your site. After you change the mode, save and open the playground or a real page once.
Display mode
- Floating mode: A corner chat button. Fits most marketing and support sites.
- Fullscreen mode: An overlay that covers the page when opened. Useful when the conversation needs focus.
- Agent layout mode: A side panel that pushes in. Better when visitors should keep reading the page beside the chat.
Use the Example image on the tab to compare modes.
Playground
Open the playground URL before go-live. It follows the same channel slug shown under Channel Details. Confirm profile, welcome message, and learning data there before you depend on the live site.
Floating display settings
In floating mode, Floating display settings lets you turn the button on or off for PC, tablet, and mobile, choose left or right alignment, and set left, bottom, and right margins.
If the button covers a mobile sticky bar or buy button, raise the bottom margin or switch alignment. You can also hide the button on tablet only while keeping PC and mobile on.
Choose how the chat widget appears on your site.
Pick how the chatbot is shown on the page
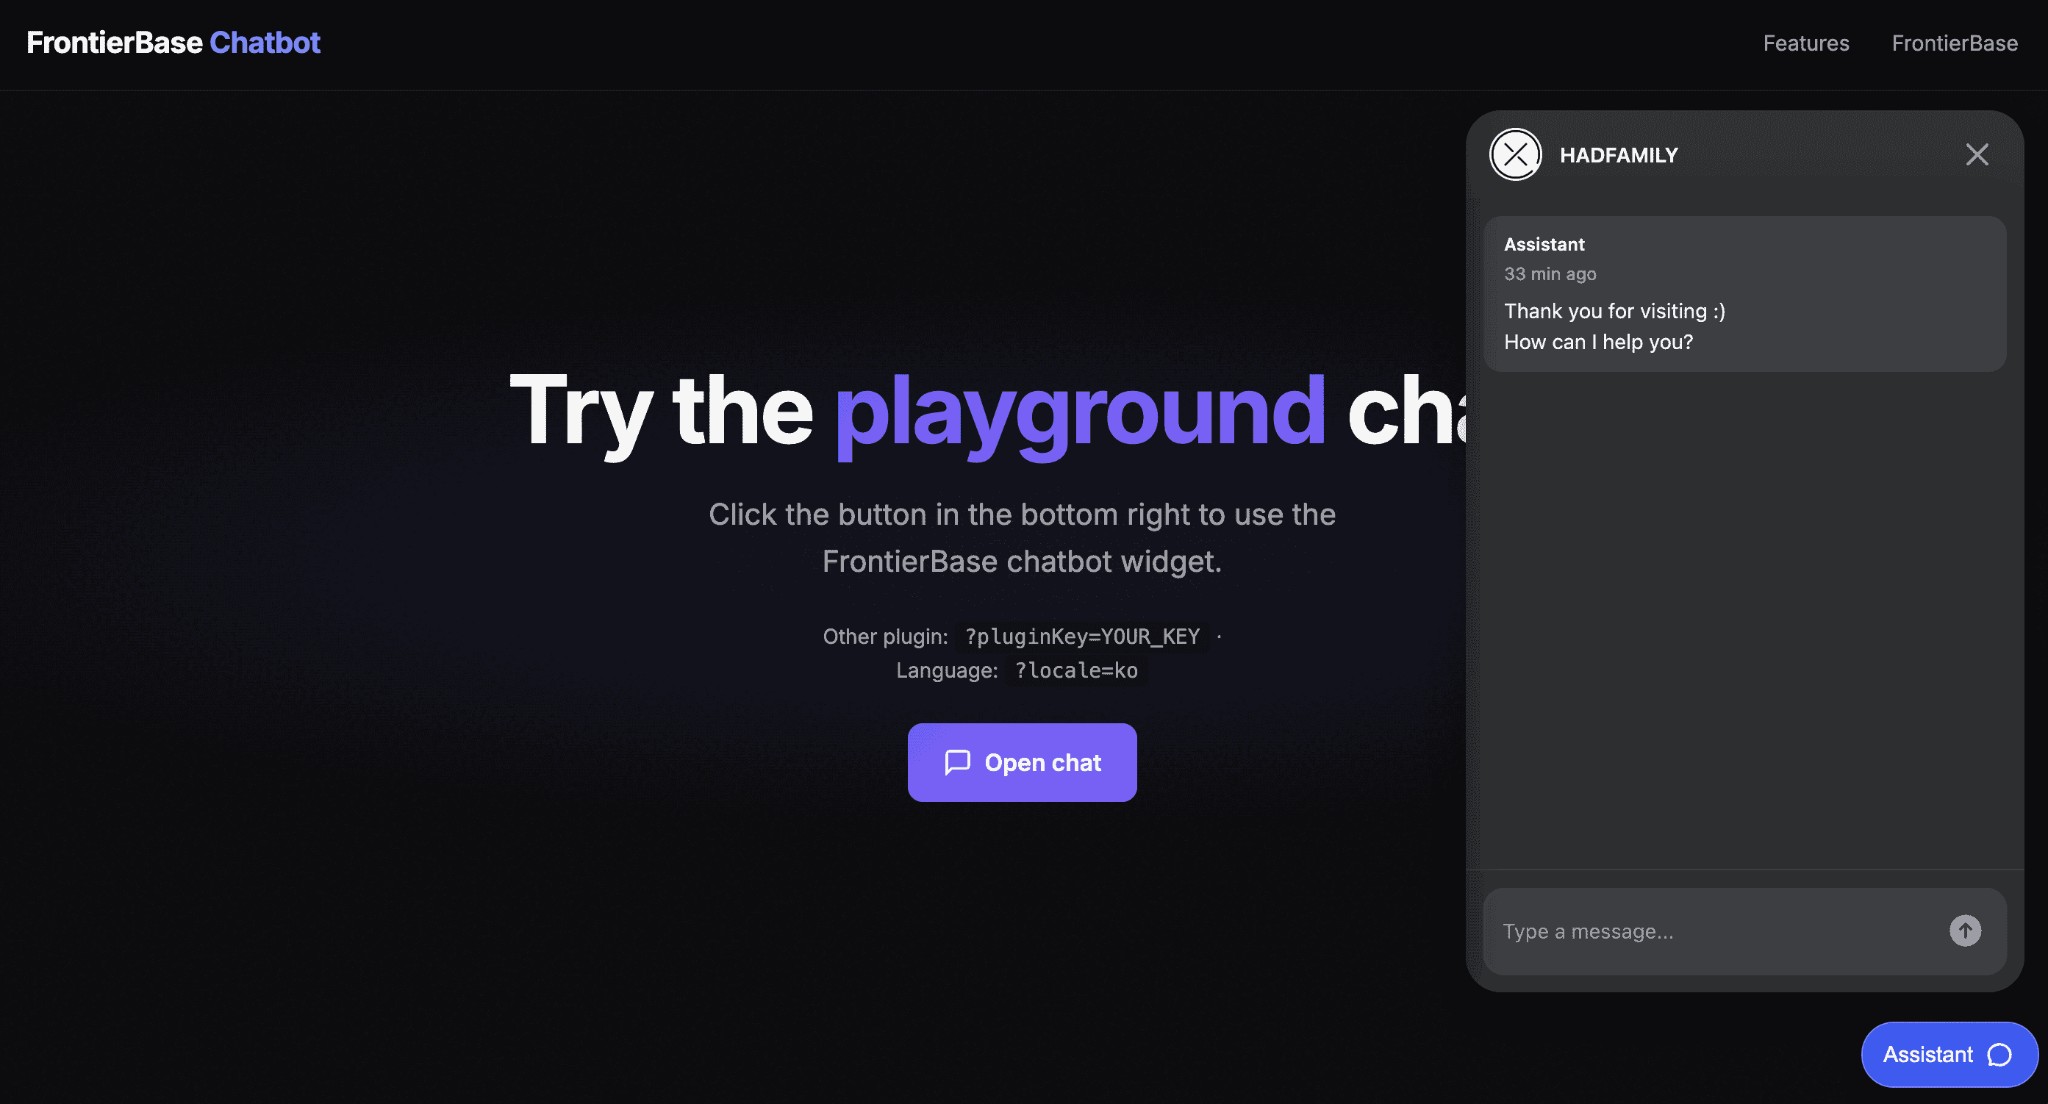 Floating mode
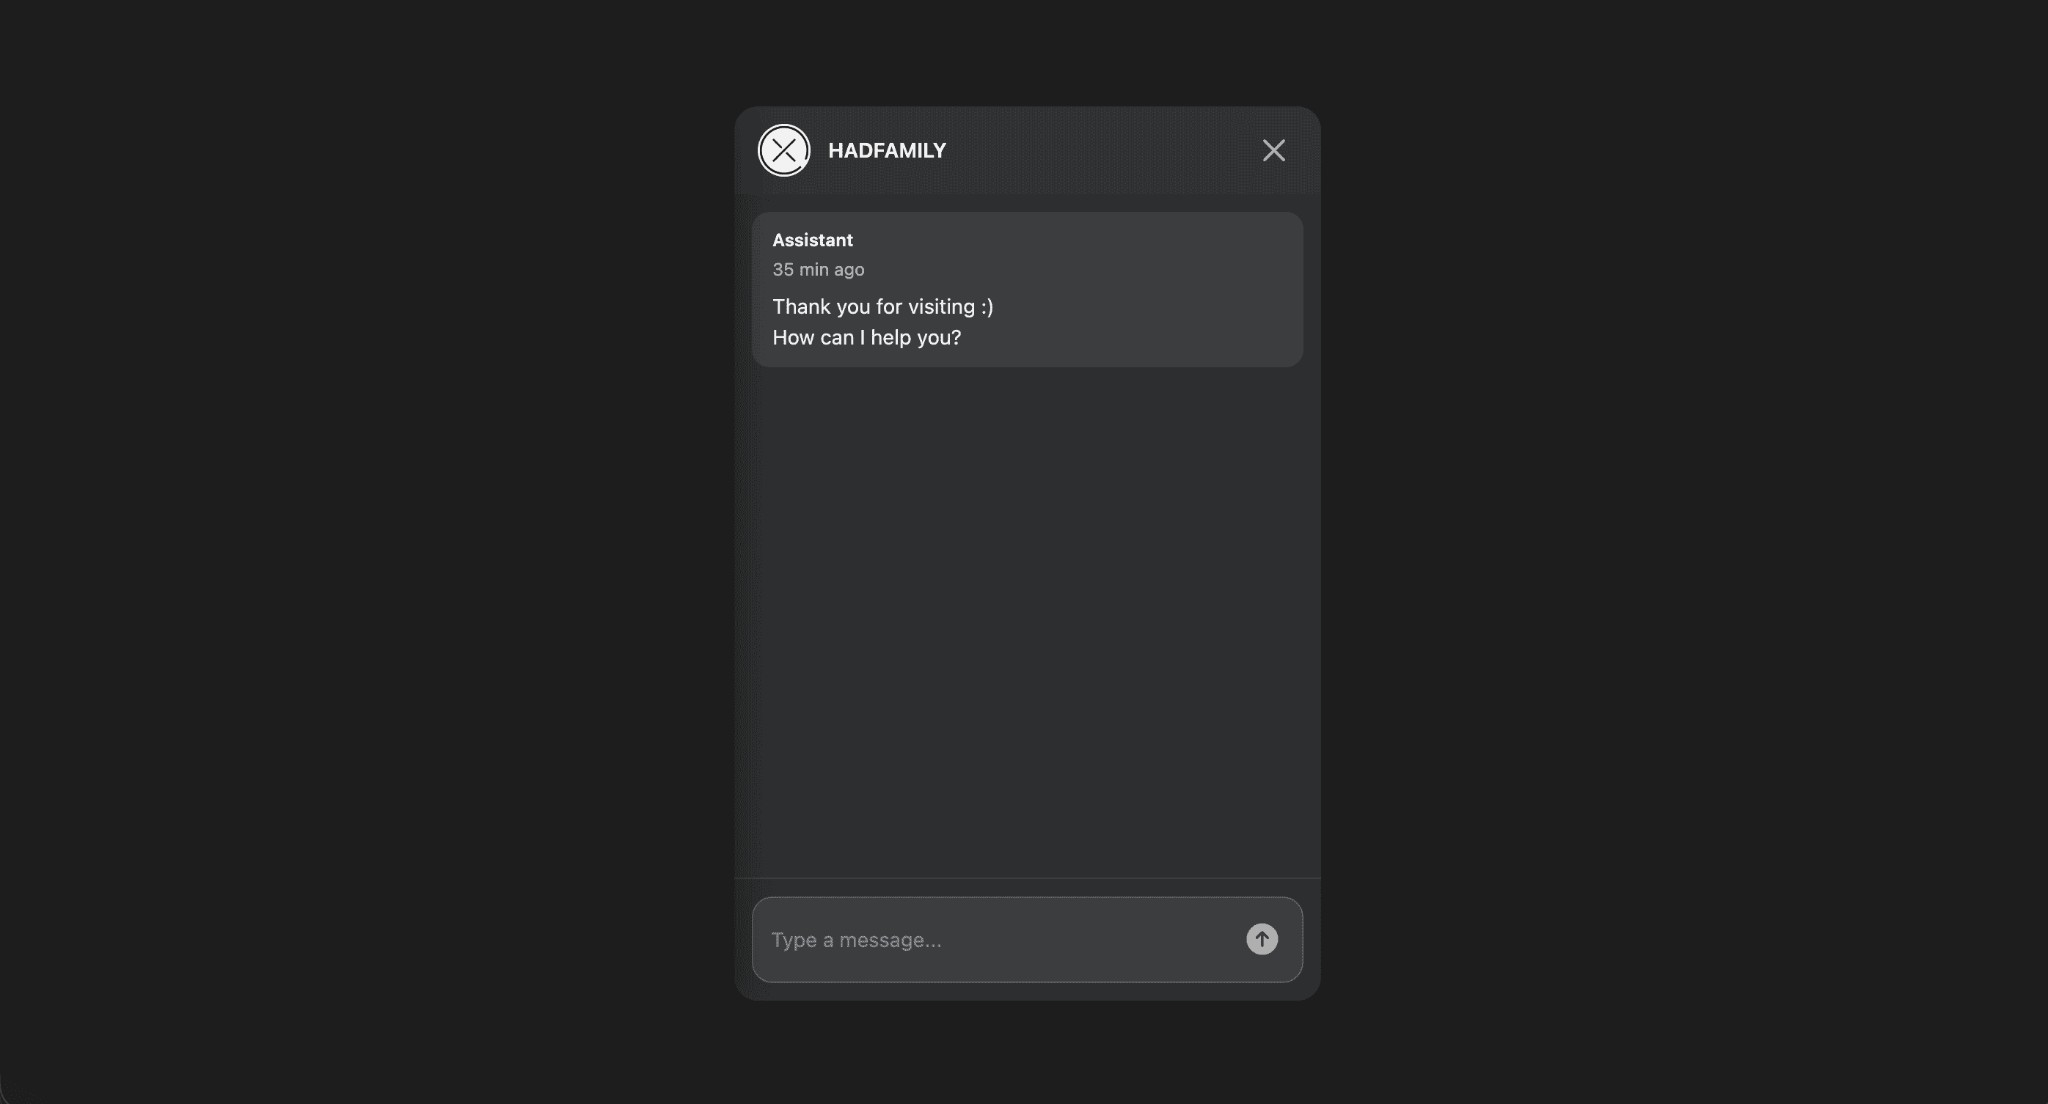 Fullscreen mode
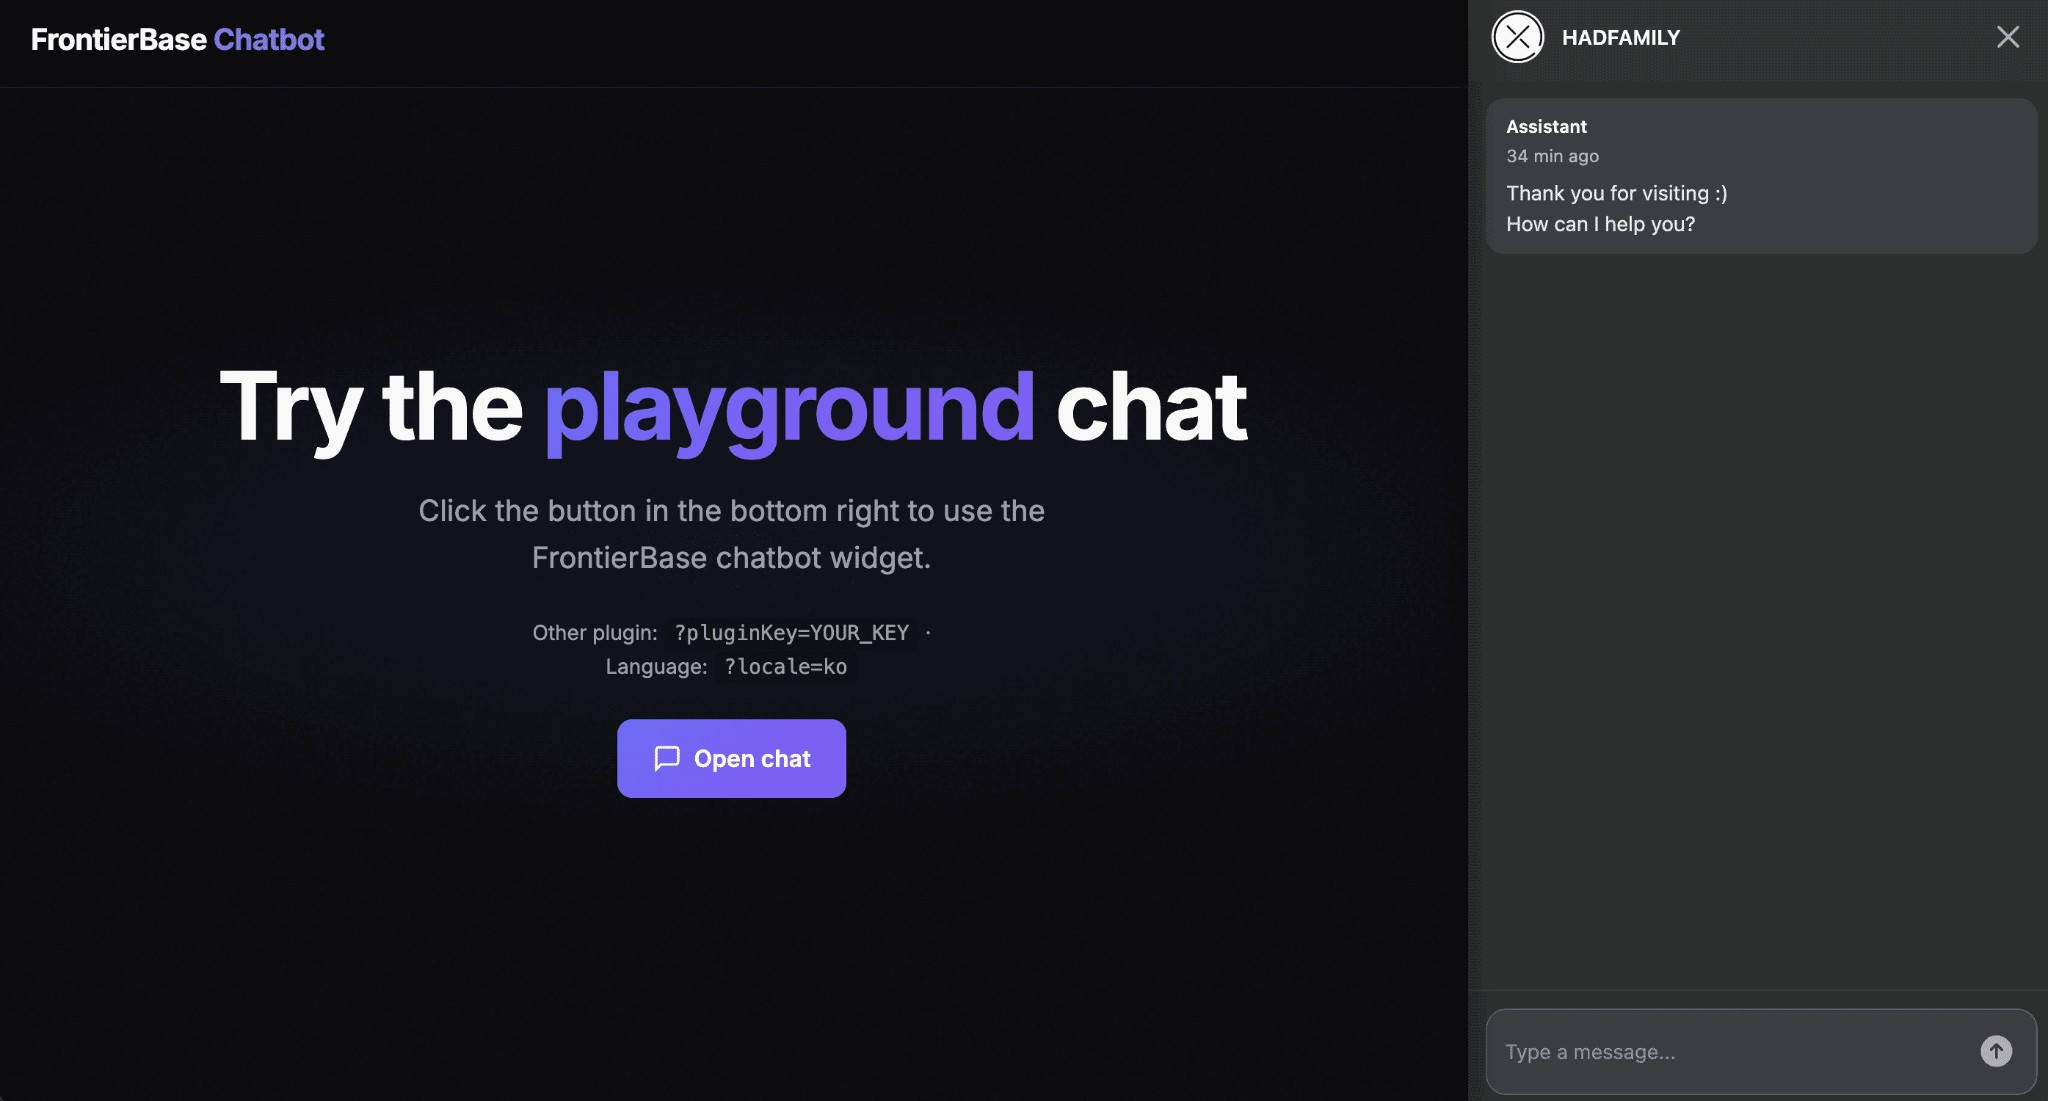 Agent layout mode
5. Allowed Domains
Only listed domains can run the chatbot widget. Add every host where you pasted the install code, including staging and local preview hosts when needed.
Add a domain
- Click Add domain.
- Enter the host only, such as
example.com. Do not includehttps://or a path. - Confirm the row appears in the list.
At least one allowed domain must remain. The console blocks deleting the last entry.
Registering * allows all domains. That is fine for a quick test, but for production keep only the real hosts.
www.example.com and example.com may need separate rows. If the widget does not load, compare the browser address bar host with the list first.
| # | Domain | Created At | Actions |
|---|---|---|---|
| 1 | example.com | 2026-09-17 | Delete |
| 2 | staging.example.com | 2026-09-17 | Delete |
6. Notifications
Choose which channel emails you want. Leaving every switch on can flood the inbox, so keep only what you will act on. Click Save after changes.
Billing and tokens
- Payment reminder: Emails admins one day before the next renewal. Useful for card or balance issues.
- Low token balance: Emails when remaining tokens drop below 50% and 10%. Keep this on for busy channels.
Summary mail
- Response summary: Daily digest of the previous day’s chat replies.
- Unanswered questions: Daily list of questions the bot could not answer. Handy when you decide what to add to learning data.
Mail goes to the admin addresses configured for the channel or account. If nothing arrives, check spam and the admin email on file.
7. Issue Track
When the chatbot cannot answer from the available learning data, visitors can leave an inquiry. You can review those items in the console and optionally forward them to Zendesk or a webhook.
Turn Issue Track on
Use the top switch to enable Issue Track. While it is off, inquiry prompts and integrations stay disabled. Even when it is on, solid learning data often means chats end with a normal answer. Empty data tends to surface the inquiry prompt more often.
Zendesk
Turn Zendesk on and enter Subdomain, Zendesk email, and API token. Wrong values may leave the inquiry only in the console. Save, then submit one test inquiry.
Webhook
Turn Webhook on to send inquiries to your own system. Set Notification URL to an HTTPS endpoint and add a Security key (optional) if you need one. Confirm the URL is reachable from FrontierBase if it sits behind a firewall.
Click Save when finished. Review collected items in issue history, and fold repeated questions back into learning data.
Setup order
- In Channel Details, confirm name, language, and status. If status is Pending, prepare learning data first.
- In Profile Management, set logo, display name, and welcome message, then check the preview.
- Paste the code from Button install and register hosts under Allowed Domains.
- In Button settings, pick a display mode and floating margins, then try the playground.
- Enable Notifications and Issue Track as needed, then save.
If the widget is missing, check allowed domains and that the install code belongs to this channel. If the widget shows but answers are empty, check channel status and learning data. When Channel Management is done, continue in the FrontierBase Console with learning data and response settings.